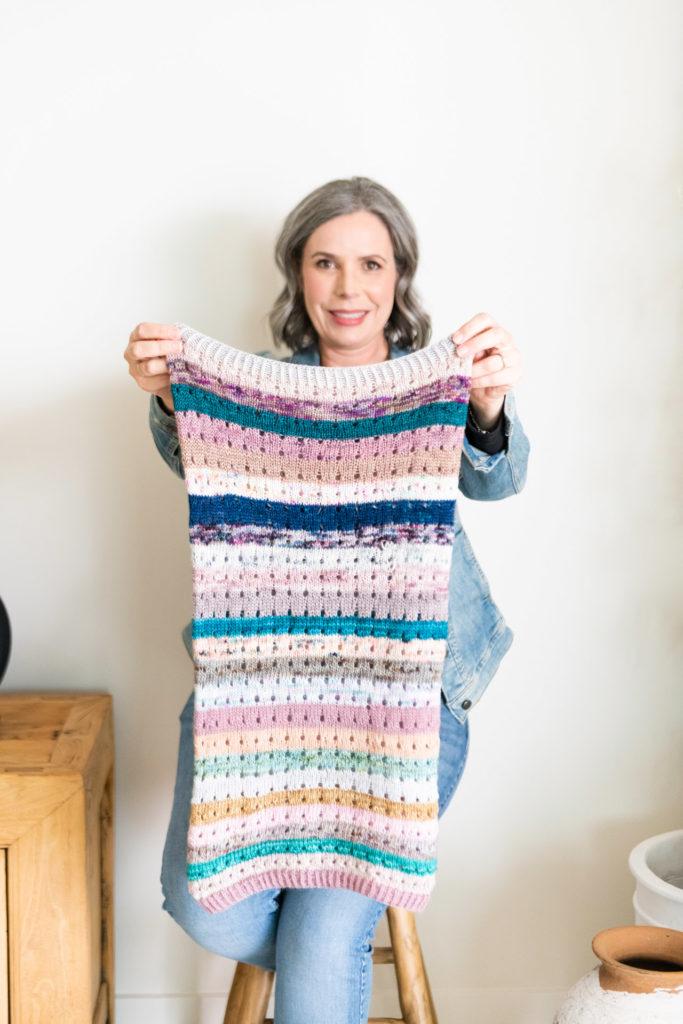
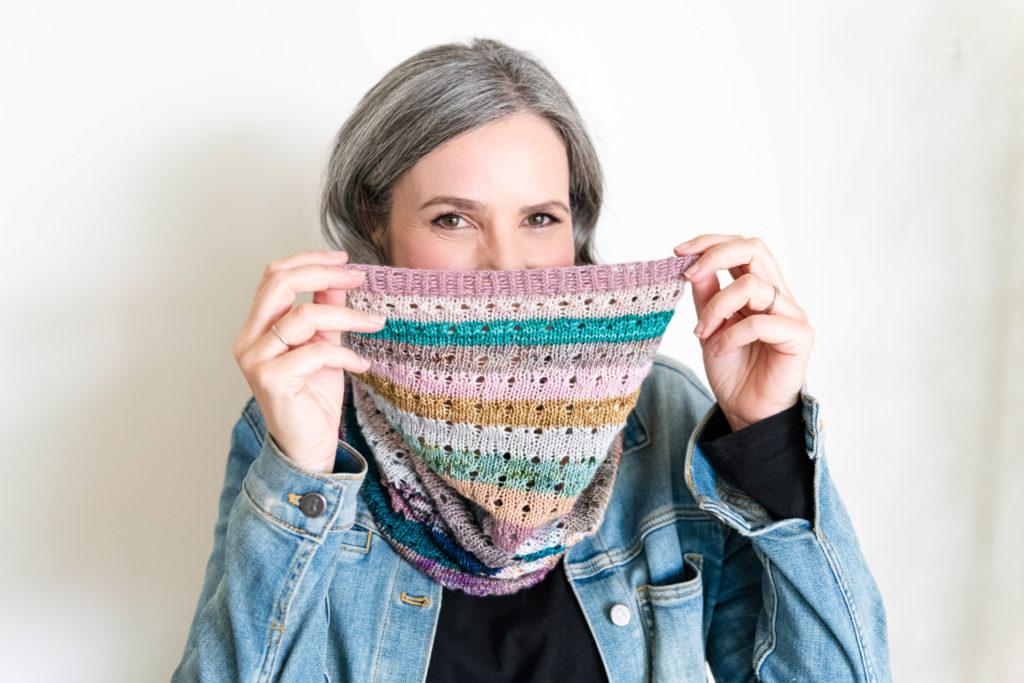
You might remember my showing you my Simple Scrappy Cowl in this video; Well I’ve finished it, just on time for your holiday knitting and yarn Advent Calendar planning!
So here is a simple little cowl pattern, more of a recipe really, that I designed using little 5g balls of fingering weight yarn. It’s perfect for using an advent set! If you’d like some tips on making your own advent set, check out this video
October 2022 update: I was chatting to my team about this year’s scrappy Knitvent theme, and we remembered this little cowl design that I created and posted here last year.
It got such a lovely response, and knitters asked whether I’d ever turn it into a “real” pattern, complete with my trademark Percentage Checklist. It was a great idea, so I plopped it onto my to do list.
And there it sat, quietly waiting for the perfect moment for me to get round to it (and to tick it off my every-growing to do list)
I’ve just published the full pattern for the Simply Scrappy Cowl in CH Checklist TM version on Ravelry and Gumroad, ( can now link any projects on Ravelry too)
You can still follow my recipe below, but if you’d like a free copy of the new PDF pattern, you can sign up to the Curious Crew newsletter and I’ll send it to you!
Click on Sindy below to go to the sign up page!
Whether or not you are joining us for this year’s scrappy Knitvent, I wanted you to share in the fun.
Simply Scrappy Cowl Recipe

Sample size: 162cm/64” long, 64cm/25” circumference
Yarn: 24 x 5g fingering weight minis
Needles: 4mm (US6), 60cm (24”) long circular needles (or size to obtain gauge)
Notions:
1 stitch marker,
Darning needle for weaving in ends
Gauge:
22 sts/30 rows = 10cm (4”) in stockinette stitch after blocking
Abbreviations and techniques:
Cast on: I use a long tail cast on
K1tbl knit stitch through the back loop
P purl
Yo yarn over (1 st increased)
K2tog knit two stitches together (1 st decreased)
Notes
A note on changing colours: I like to change colours when I run out of the last one without worrying about completing a round. This way I can get the most out of the minis. On this sample I got around 8 rows from each mini, so the lacy rows don’t always appear in the same place in a stripe. If you prefer a more even look and don’t mind a little wastage, you could just knit each 6 row repeat of the body with a new colour.
Weaving in ends: you can weave in ends using a darning needle or alternatively join yarn with a magic knot.
If you want to make a wider or narrower cowl, add or subtract stitches in multiples of 4. If you’re getting roughly the same gauge as me, each 4 stitches will change the circumference by just under 2 cm/1.5″. Remember this will affect how many rows of the cowl you can do with each mini – a wider cowl will be shorter and have narrower stripes.
Directions
Cast on:
– With your first mini cast on 140 sts.
– Join to work in the round being careful not to twist your stitches. Place a stitch marker for the beginning of the round.
Ribbing:
– *K1tbl, p1*, repeat to the end of the round.
– Repeat the ribbing round for 8 rounds (or as long as you want the ribbing)
Main body of the cowl:
– Knit 5 rounds of stockinette (all knit rounds)
– *K2, yo, k2tog* – repeat to the end of the round
– Repeat the last 6 rounds until the cowl is 3cm (1”) shorter than your desired length, or until you have just one mini left remaining (don’t forget to leave enough yarn to cast off). Change colours each time you run out of the last one.
Ribbing
– *K1tbl, p1*, repeat to the end of the round.
– Repeat the ribbing round for 8 rounds (or as long as you want the ribbing)
Cast off
– Cast off all the stitches in ribbing pattern, and weave in ends.
