I hope you enjoyed catching up with or reviewing the first three instalments of The Sock Series. It’s lovely to hear from newish knitters who are building their confidence around sock knitting. By the time the first pattern of this new season drops, you’ll be unstoppable! I know we have a lot of expert sock knitters in our community, too, so if you have a special tip or trick you’d be willing to share with the rest of us, please let me know: sharing with—and learning from—each other is one of the great joys of the knitting community.
Today I want to share a technique that I learned from a very dear knitting friend of mine, Paula from The Knitting Pipeline. Paula is an incredibly skilled knitter, and always so generous with her knowledge. She showed me this very helpful sock-knitting tip on one of her wonderful retreats, and I’ve been using it ever since.
The dreaded heel turn
A feature of sock knitting (and one of the bits that scares most newbies the most) is the need to “turn the heel” of the sock. This is how you achieve the “L” shape that makes a sock a comfy, well-fitting sock instead of just being a scrunchy tube. It’s one of those things that sounds so much more complicated than it is. Once you’re actually doing it, it’s not so complicated at all, especially if you have a clearly-written pattern (and maybe a patient knitting friend online or in real life) to walk you through it.
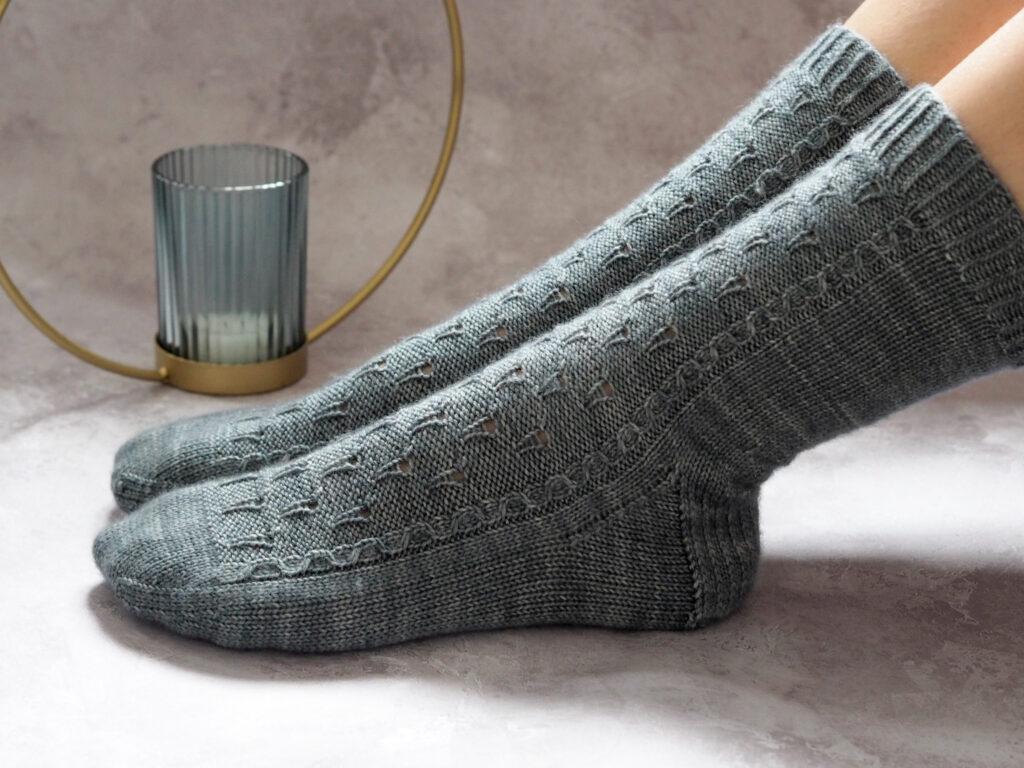
Anatomy of a Sock: The Heel Flap and Gusset
There are several different ways to create a heel, but one of the most common (and one of my favourites) is the heel flap and gusset. The actual knitting of the heel flap and gusset is actually pretty simple, as you’ll know if you’ve ever knit a sock of this type. But there is one issue that can haunt even experienced knitters: the hole in the gusset. What causes these pesky holes, and how can you avoid them?
When you create the heel flap of a sock, you’re only knitting half the stitches. After you’ve shaped the “cup” of the heel (usually with short rows…don’t worry, it’s actually quite easy!) you’ll need a way to resume knitting in the round. So, you pick up the stitches along the side of the heel flap you’ve just created until you reach the waiting stitches at the front of the sock. You could just keep knitting across, but if you do, there will always be a little gap there. This gap is what creates the holes (also known as pig’s eyes!) and it can be very frustrating. Who wants a little hole in a brand new sock?
Avoiding the gusset hole
The solution is usually to pick up an extra stitch or two in the gap, but as I learned, if you’re not careful how you pick up those stitches, you can sometimes inadvertently create an even bigger and more noticeable hole. There are a few different ways to tackle this, but the one I learned from Paula is so easy and foolproof that I’ve used it on every single sock since.
Recently, I recorded a YouTube Tutorial so you can watch exactly how I do it.
Isn’t that ingenious? It’s so simple and so effective. I hope it’s as helpful to you as it has been to me!
Explore the rest of the Sock Series:
Part 1 of The Sock Series: Choosing Yarn
Part 2 of The Sock Series: Needles and Techniques
Part 3 of The Sock Series: Casting On
Part 5 of The Sock Series: Closing the Toes
Happy knitting,
Helen x