Today I have one more technique for you as we get ready for the launch of The Handmade Sock Society, Season 2, very, very soon! I’m getting so excited to finally start letting these patterns out into the world, after all the hours of quiet, secret work behind the scenes. I really think you are going to love this collection. It’s a particularly special one. But before I share more details about that, I’ll share my best tips for finishing up your socks!
The Kitchener Stitch: Seamless Sock Finishing
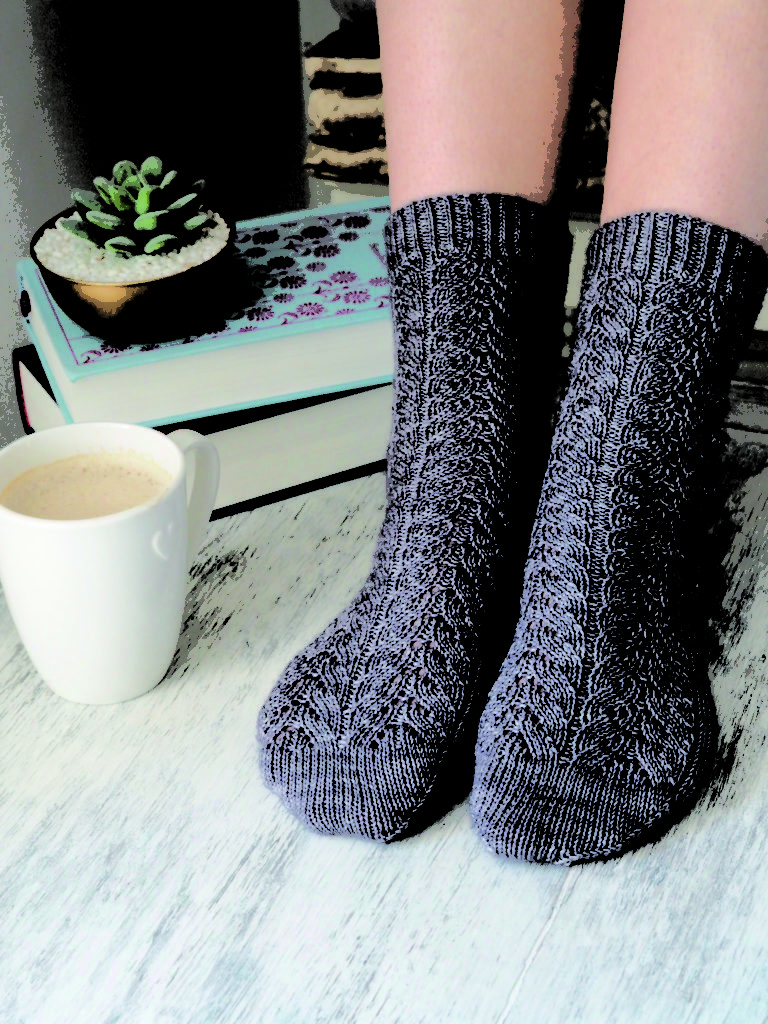
Once you’ve knit to the very end of your sock’s toe, you need a way to close up that hole. You could just run your yarn tail through all the stitches and pull it tight (like the top of a hat) but that’s not very true to the shape of most feet. You could bind off and then just whip stitch the edges of the toes together, but that would result in a fairly bulky seam: not the most comfortable, especially when pressed against the toe of your shoe. So how do you take those live stitches and end up with a smooth finish (with no annoying seam)? Our friend the Kitchener Stitch.
I’ll be the first to admit that as a newer knitter I found this technique daunting. I’m afraid it was a major contributor to my Second Sock Syndrome for years! It’s not at all difficult, but I kept having to look it up every time I wanted to finish a sock. In the end, it was just a matter of practice. Now I think it’s very satisfying, and even quite fun. Hopefully, by the end of this email, you’ll think so, too!
The Kitchener Stitch is also known as grafting, or weaving. It’s a very clever method that allows you to marry two sets of live stitches together into an invisible seam. It can look pretty complicated when you see the steps written out, but in reality, it is very simple, and it’s easy to get into a rhythm. All you have to do is start.
The very clever and generous Very Pink has made a few excellent video tutorials for the Kitchener Stitch:
She also has a brilliant slo-mo version!
For visual learners, I think videos (and especially those slow-motion videos!) are hard to beat! I know some people do prefer to see the written instructions, too. Sometimes it’s just a bit quicker to glance at the instructions to refresh your memory than it is to re-watch a video.
How to do the Kitchener Stitch:
First, distribute your stitches evenly onto two needles, with the ends of the needles pointing the same way. You can use two double pointed needles, or just the two needles of a circular. Make sure the wrong sides (the inside of the sock) are facing each other. You’ll need a yarn or tapestry needle, threaded onto the tail of your yarn. Start with the yarn tail coming from the BACK needle.
First, you’ll work the Set Up instructions, once:
1. Insert your tapestry needle into the first stitch on the FRONT needle as if to PURL, pull the yarn up and leave the stitch on the needle.
2. Insert your tapestry needle into the first stitch on the BACK needle as if to KNIT, pull the yarn up and leave the stitch ON the needle.
Now it’s time to Kitchener:
1. FRONT NEEDLE: KNIT OFF — insert the yarn needle as if to knit the first stitch on the front needle, pull yarn through, drop the stitch off
2. FRONT NEEDLE: PURL ON — insert the yarn needle as if to purl the next stitch on the front needle, pull yarn through, leave the stitch on the needle
3. BACK NEEDLE: PURL OFF — insert the yarn needle as if to purl the first stitch on the front needle, pull yarn through, drop the stitch off
4. BACK: KNIT ON — insert the yarn needle as if to knit the first stitch on the back needle, pull yarn through, leave the stitch on the needle
Just keep repeating these steps until you reach the end of the seam. (It can help to keep muttering “Knit, Purl, Purl, Knit” as you go!) Then just pull the working yarn tight and weave in the loose end as usual. And there you go! You are the proud owner of a fully finished sock.
For a hybrid approach of words and photos, this classic Knitty tutorial has always been my go-to.
I hope that helps! By now, even the newest knitters in the Curious Crew should be well-prepared to take on their first socks (there will be plenty of encouragement, help, and community in the Ravelry group, too.) And if you’ve been making socks for years and years, and have a smart or sneaky grafting or finishing tip up your sleeve, please share it. Let’s never stop learning!
You can also explore the rest of our handy Sock Series posts here: